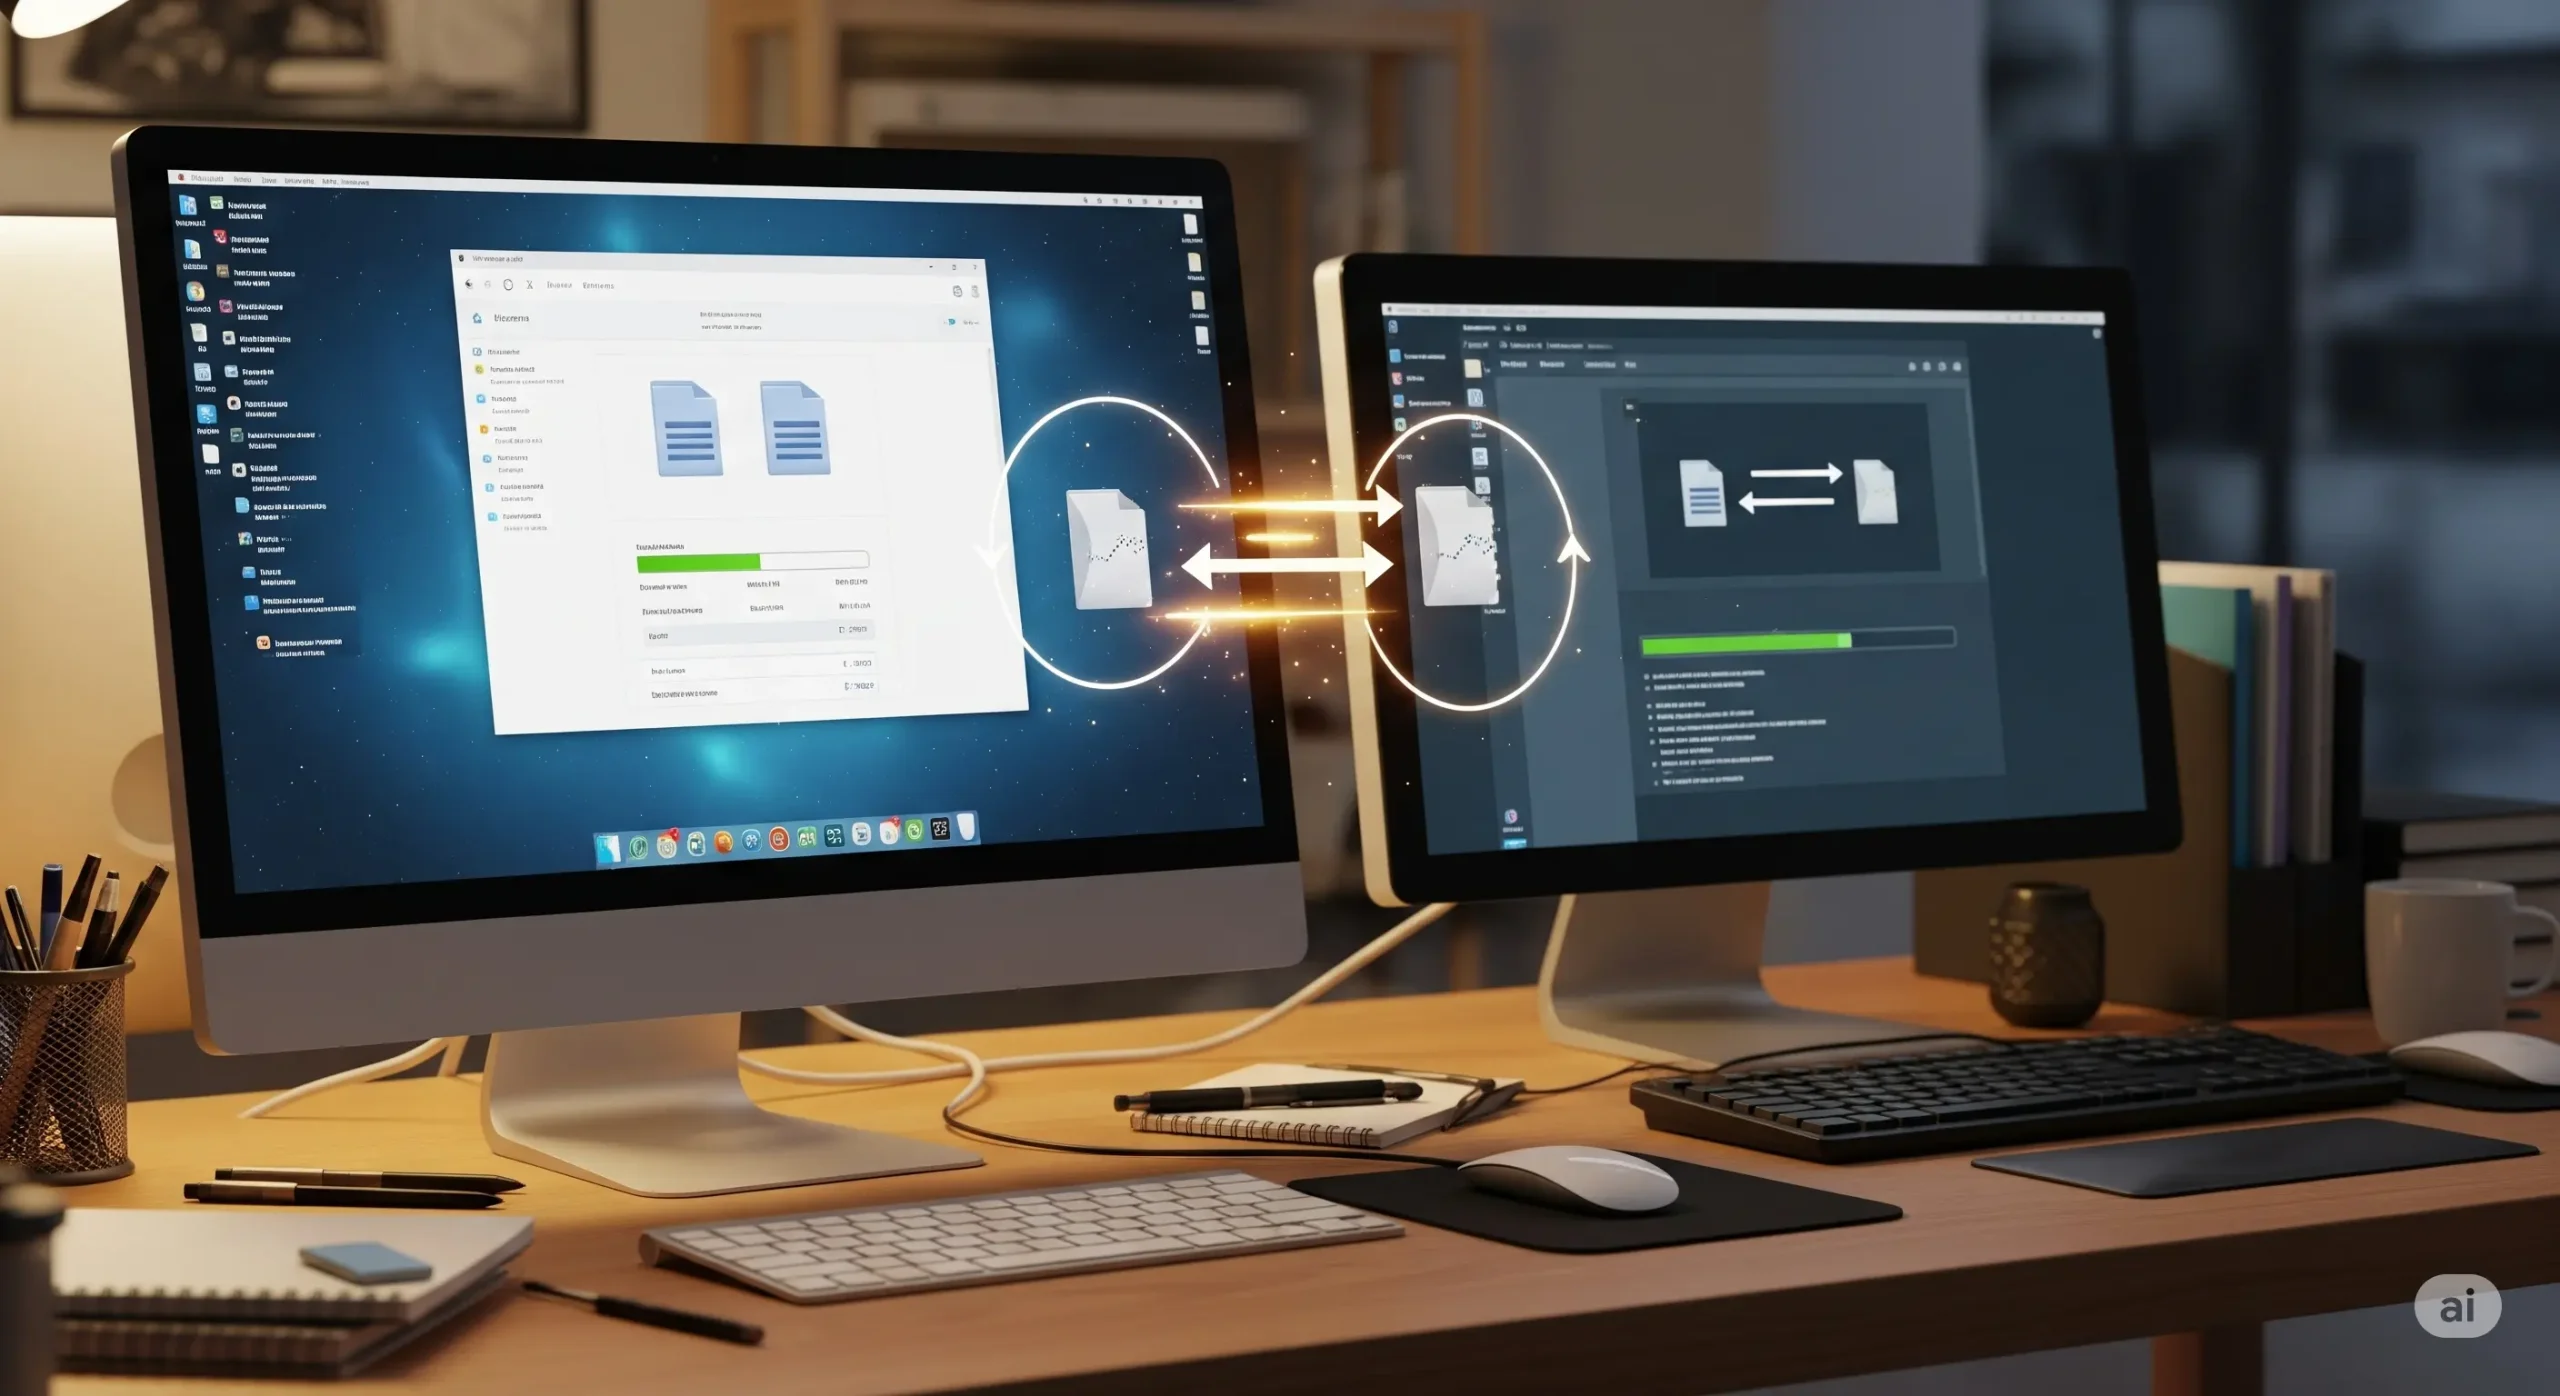
How to Perfectly Sync a WordPress Dev Environment Between Two PCs
A Professional Development Workflow with Local + GitHub
Introduction: The Core Concept
This development environment manages two critical components with the best tool for each job.
1. Files (The Blueprint)
The file group that defines the site’s structure, like themes, plugins, and images. These are synced accurately with version history using Git and GitHub.
2. Database (The Data)
Data such as posts, pages, and site settings. This is synced by moving the entire site using Local’s Export/Import feature.
[Crucial] Always “Run as Administrator”
The key to success is to always right-click the icons for Local and your code editor (Cursor/VS Code) and select “Run as administrator”. This avoids PC permission issues.
Step 1: Initial Setup (One Time Only)
1-1. Prepare the Necessary Tools
First, install the following tools on both PCs.
- Git: Download from the official website.
- GitHub Account: Create a free account on the official website.
- Cursor (or VS Code): Download from the official website.
1-2. Build the “Master Site” on the Base PC
- Decide which PC will be the “master” (e.g., your laptop).
- On Local (run as administrator), create a new empty site named `directors-console`.
- Using the “All-in-One WP Migration” plugin, import your production site’s `.wpress` file into the newly created site.
→ You now have a fully functional master site that will be the standard for everything.
1-3. Create a Storage Space (Repository) on GitHub
- Log in to GitHub in your browser.
- Create a new repository from “New repository” with the following settings:
- Repository name: `directors-console`
- Private: Always select `Private`
- → Your exclusive, private storage space is now ready.
1-4. Send the Base PC’s Files to GitHub
Open the master site’s folder in Cursor (run as administrator) and execute the following commands in the terminal, one by one.
# Start managing with Git
git init -b main

# Register your info with Git (replace the content in " ")
git config --global user.name "YourGitHubUsername"
git config --global user.email "YourGitHubEmail"

# Register the GitHub storage location (replace the URL)
git remote add origin https://github.com/YourGitHubUsername/directors-console.git

# Select all files
git add .

# Save as the "first record"
git commit -m "Initial commit"

# Upload to GitHub
git push -u origin main
Step 2: Perfect Replication to the Second PC
2-1. Export the Entire Site from the Base PC
In Local on the base PC, right-click on `directors-console` and select “Export“. A ZIP file containing the entire site will be created.
2-2. Import the Entire Site to the Second PC
Move the created ZIP file to the second PC and drag and drop it into Local (run as administrator). Ensure the site name is `directors-console` and complete the import.
2-3. Final Check of Git Integration on the Second PC
Open the newly created folder on the second PC in Cursor (run as administrator) and run the following in the terminal:
git status
→ If it says “Your branch is up to date with ‘origin/main’.”, the integration is perfect.
Step 3: The Daily Sync Workflow
Congratulations! From now on, your daily development is just a repetition of this simple flow.
When Starting Work (e.g., on Desktop)
To continue work from another PC. Run this in the Cursor terminal:
git pull
→ The latest files are downloaded from GitHub.
When Finishing Work (e.g., on Desktop)
To save today’s work and make it available to the other PC. Run these three commands in order:
# 1. Pack all changed files into a box
git add .

# 2. Label the box with today's work summary
git commit -m "Fixed the header design"

# 3. Ship the package to the courier (GitHub)
git push
Appendix: Common Git Commands
| Command | Meaning (Shipping Analogy) | Description |
|---|---|---|
| `git pull` | Receive a package | Downloads the latest changes from GitHub and updates your local files. Always run this before starting work. |
| `git add .` | Pack the box | Selects all changed files (`.` means all) to be included in the next record (commit). |
| `git commit -m “…”` | Attach the shipping label | Formally records the selected changes to the version history with a message (`”…”`) describing the changes. |
| `git push` | Ship the package | Uploads your recorded local changes to GitHub, making them available for the other PC to `pull`. |
| `git status` | Check the workshop status | Checks which files have been changed in your current folder and if there are any pending changes. Run this first when you’re unsure. |


コメント